

An easy to install alternative to a home fire sprinkler system
Automist can be completed installed by one of our Authorised Installer Resellers in as little as 3 hours. It was designed with retrofit in mind with flexible hoses which don't need to go through the ceiling, and low water demand, no need for a no tank or water main upgrade. We will guide you through the approval process so you can ensure your home meets building regulations.

Specification and preapproval
Submit your layout to your nearest Authorised Installer, they can provide you with a layout specification free of charge. You can then ensure your proposal meets Building Controls requirements before starting.
Site Visit and preparation
Request a site visit to run through your design and preinstallation. The site can then be prepared, cables are run to agreed locations, water and electrical services provided and chasing/conduit provided for hoses.
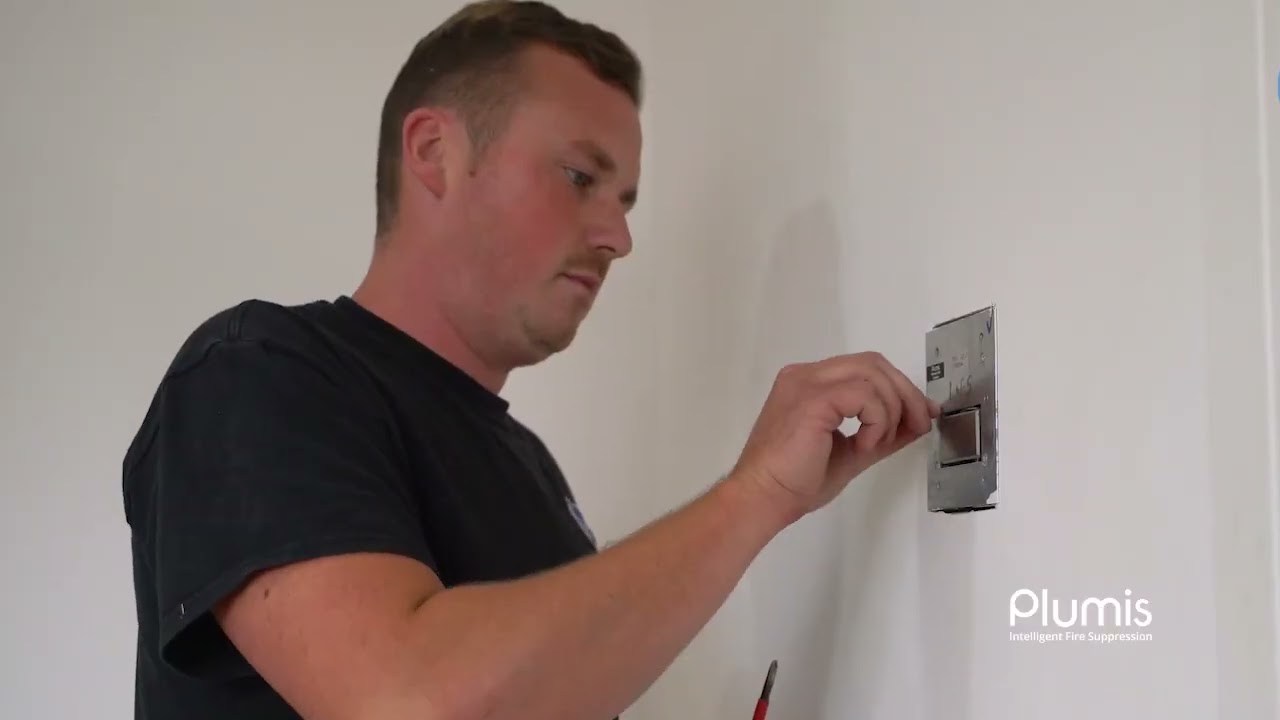
Installation and commissioning
Automist is connected to the water and power, and the system is leak tested. We verify that the detectors activate Automist, and system is correctly installed. Once complete, a commissioning form and warranty certificate are issued.